Suppliers and purchase orders
How to register suppliers, build a purchase order, receive goods in full or in parts, and mark the purchase as paid.
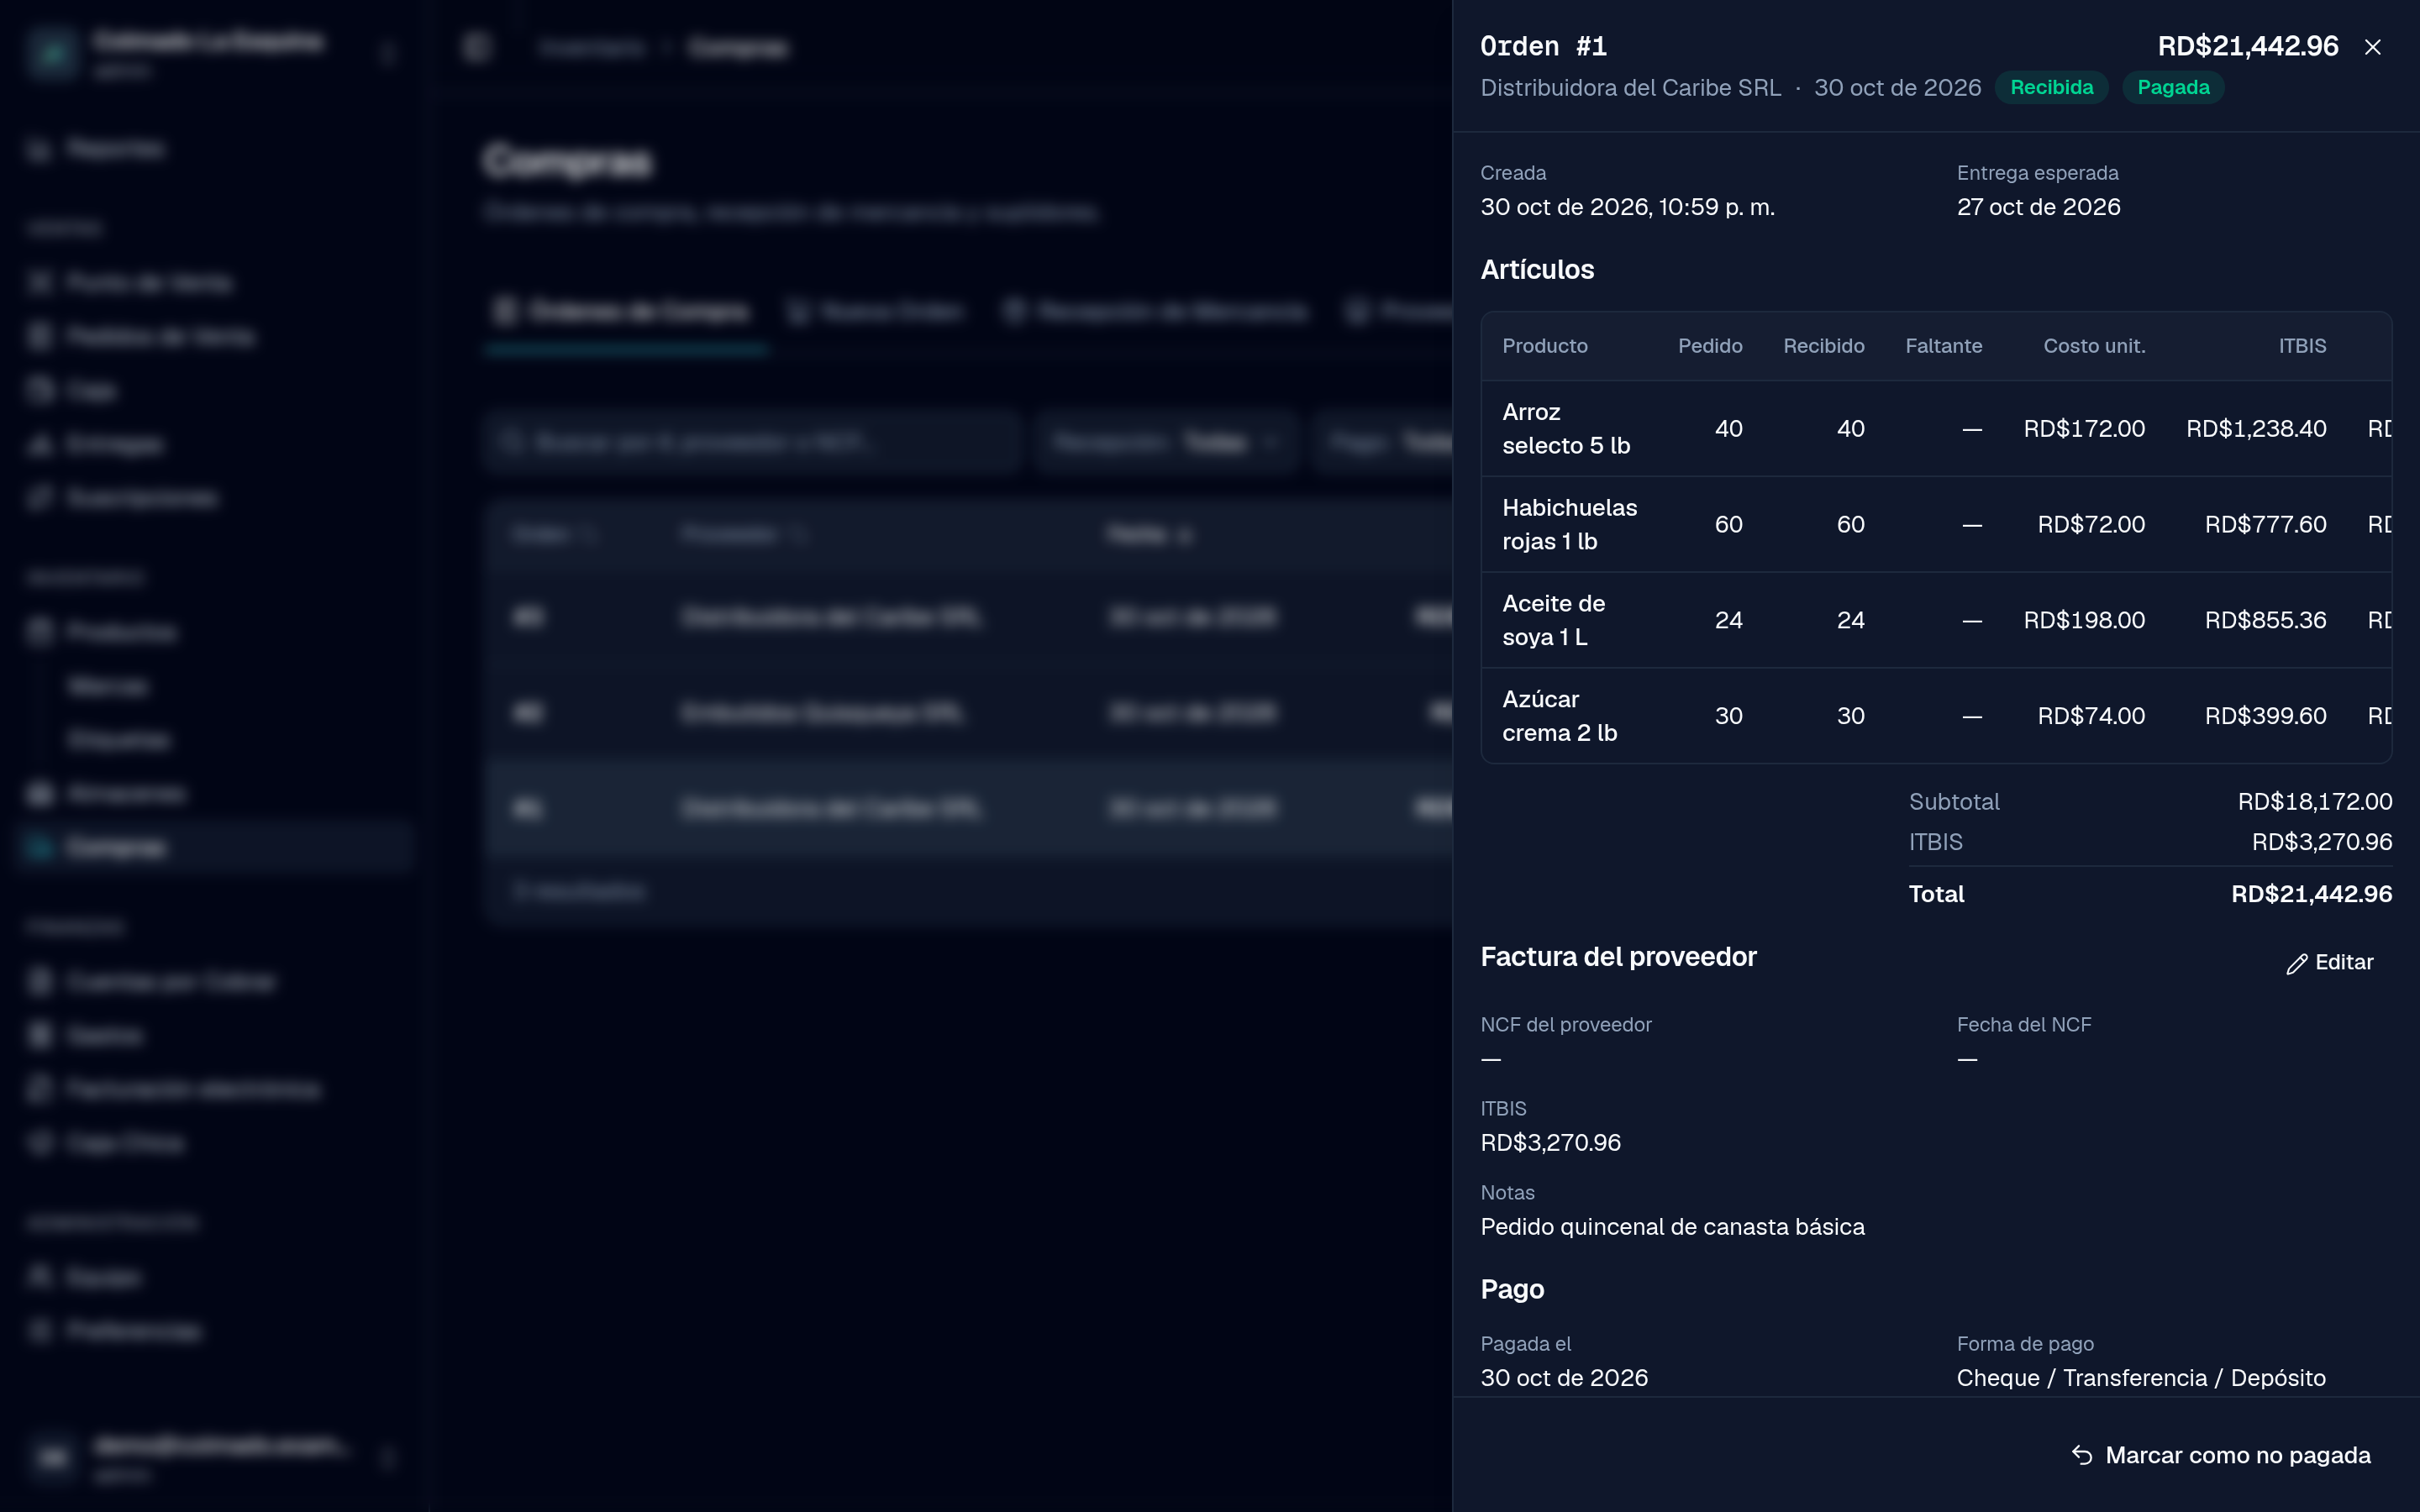
In Purchasing you record what you order from your suppliers, the goods that arrive and what you pay them. When you receive, stock goes into the warehouse and each product’s cost updates by itself. Purchasing is available from the Pro plan; see the plans on Pricing.
Who can do it
- The administrator (admin) and purchasing (procurement) roles create suppliers and orders, and receive goods.
- Mark as paid (or unpaid) is for administrators only.
- Creating a new product from a purchase, or adjusting its sale price, also takes inventory permission.
Register a supplier
- In Purchasing, open the Suppliers tab and press New Supplier.
- Type the Company Name and, if you have it, the RNC / Cédula: 9 digits for a company, 11 for an individual. The RNC is needed to claim the ITBIS on their invoices.
- Add the Contact Email if you like and press Create Supplier.
Suppliers aren’t deleted: you Deactivate them. They no longer appear on new orders, but their past orders are kept.
Build a purchase order
- Open the New Order tab and choose the Supplier (or create one with New supplier).
- Tap the products on the left to add them. On each line, set the quantity and the unit cost; you’ll see the Last cost and the margin it would leave at the current sale price. If a product doesn’t exist, create it with New Product.
- At the bottom, choose how you typed the costs: ITBIS separate (ITBIS is added on top) or ITBIS included (the costs already carry it and the app takes it out), and the rate: 18%, 16% or 0%. The type each order starts with is set in Preferences › Tax data.
- If you already have the invoice, open Supplier invoice: type the Supplier NCF, the NCF date and attach the invoice (PDF, JPG or PNG up to 10 MB) or take a photo of it.
- Under More details you can set the Expected delivery and Notes.
- If the purchase already happened, turn on Goods received now (with the warehouse in Put away in) and, if you are an administrator, Already paid (with the date and payment method).
- Press Create Purchase Order.
While the order is Ordered and unpaid, you can edit all of it. After that, only the invoice details and notes can change.
Receive the goods
- Open the Receive Goods tab and choose the Order to receive, or use Receive goods on the order.
- In Put away in, choose the warehouse. Press Receive all if everything arrived, or type how many units of each product came in.
- If part goes to another warehouse, use Split across another warehouse. With Add note you can write down, for example, damaged boxes.
- If you like, type the Delivery note (conduce) # and the Receiving notes.
- Press Confirm Receipt.
If only part arrives, the order becomes Partially Received and you can receive the rest another day. Once every ordered unit has arrived, the order becomes Received on its own. If the rest won’t come, open the order and use Close (rest won’t arrive): the order becomes Received and whatever is missing is recorded as missing. Each receipt stays in the Receipt history.
Pay the order
- On the order, press Mark as paid.
- Choose the Payment date and the Payment method: Cash, Check / Transfer / Deposit, Credit / Debit Card, Credit Note, Barter or Mixed.
- Confirm with Mark as Paid.
Only paid purchases count in financial reports. Once paid, the order’s ITBIS can’t change; if you made a mistake, mark it as unpaid first. The documents of a paid order are kept and can’t be deleted.
Order statuses
Each order has two separate statuses:
- Receiving: Ordered, Partially Received, Received or Cancelled.
- Payment: Unpaid or Paid.
Cancel order is only possible while nothing has been received and it isn’t paid. A cancelled order doesn’t count in any report.
Tip: if you buy from someone who isn’t registered with the DGII, the order can carry withholdings and its own purchase receipt. See Withholdings and E41 on purchases.
Related articles
Didn’t find what you were looking for?
Write to us on WhatsApp or through the contact form and we will help.