Team and roles
Add the people in your business on the Team page, give them one or more roles and deactivate anyone who no longer works with you.
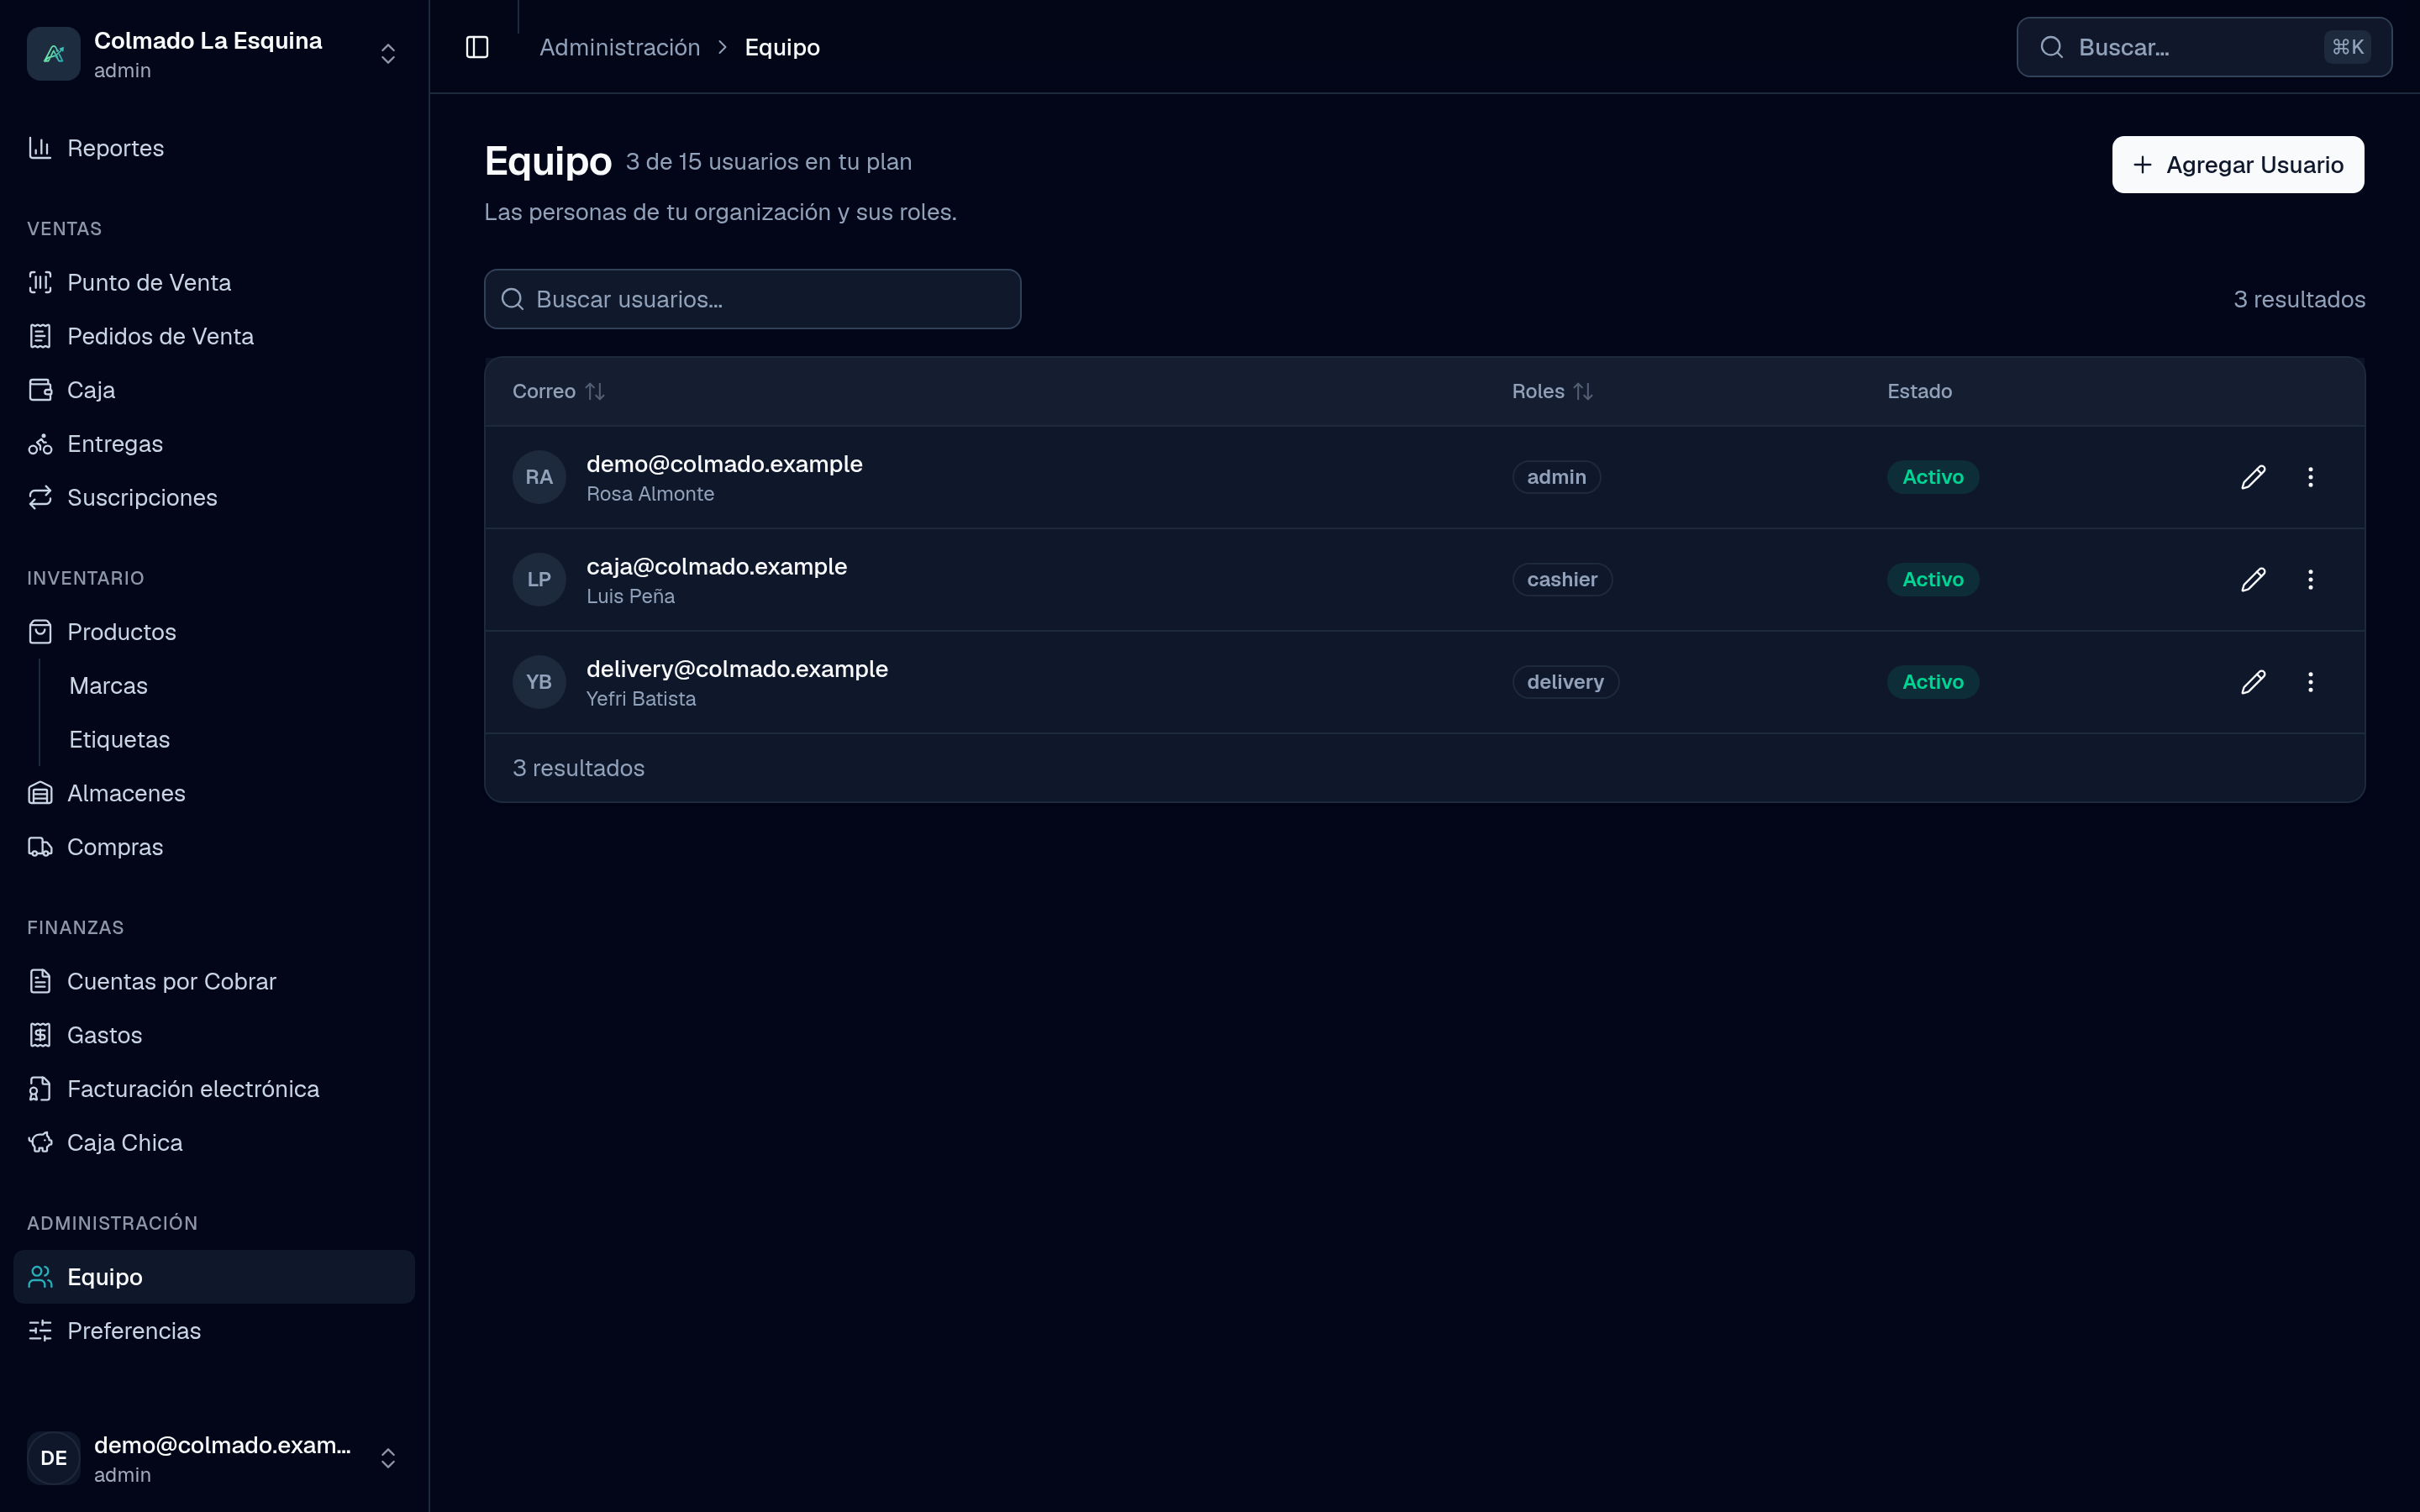
On the Team page you decide who can get into your business in Ahorra POS and what each person can do. Give every employee their own account and the role that matches their job.
Who can do it
Administrators only (the admin role). Team is in the Administration group of the menu.
The roles
A person can hold several roles and gets every permission of each one.
- admin: the business administrator. Sees and does everything: reports, team, preferences, the plan, electronic invoicing, expenses, purchasing (including marking orders as paid), voiding sales and managing everyone’s registers.
- cashier: runs the point of sale. Sells, works sales orders, opens and closes their own register, creates customers, sells on credit within each customer’s limit and records payments. Sees products in order to sell them, but doesn’t edit the catalog. Can’t void a sale that was already charged and doesn’t see reports.
- inventory: manages inventory: products, brands, tags, warehouses and stock.
- procurement: manages purchasing: suppliers and purchase orders, and receives the goods. Marking an order as paid is up to the administrator.
- delivery: the driver. Sees their own deliveries, picks them up, collects payment on delivery and marks them delivered or cancelled.
The cashier and delivery roles can also open Petty Cash, but they can only spend from a fund if they are its custodian. Purchasing, expenses, petty cash and deliveries are available from the Pro plan; see pricing.
Add a person
- Open Team and tap Add User.
- Enter their Email Address. The app checks whether that email already has an Ahorra POS account.
- If the email is new, enter a Password (at least 10 characters, not a common one, and without the email or the business’s name) and their Full Name. Share that password with the person.
- If the email already has an account, no password is asked for: the person signs in with the one they already use.
- Under Roles, tick one or more.
- Tap Save.
What happens next
- New email: the account is active and the person can sign in right away.
- Email with an account: the person shows up in your team and signs in with their usual password. If they never confirmed their email, they get an invitation and Status shows Invitation pending until they accept it. From the row’s menu you can use Resend invitation or Cancel invitation.
Edit or deactivate
- Tap a person in the list to Edit User: change their Full Name, their Roles or their Active Status.
- To stop someone from signing in, use Deactivate and confirm. Their history (sales, payments, register closings) stays in the business. To give them access again, edit them and turn Active Status back on.
How many users you can have
The number of users depends on your plan (see pricing). Above the list you’ll see how many you use out of what your plan includes. When you reach the limit, the Add User button is disabled: deactivate someone who no longer uses the app or ask for a plan change. Reactivating someone also counts toward the limit.
Tip: don’t share one account among several people. With one account per person, each cashier balances their own register and you know who made each sale.
Important: each business can send a limited number of invitations per day. If you see “Too many invitations today”, try again tomorrow.
Related articles
Didn’t find what you were looking for?
Write to us on WhatsApp or through the contact form and we will help.