Sell at the POS
How to build the cart, charge in cash, card or transfer, pick the fiscal receipt type and hand over the receipt at the POS.
The POS is the screen where you ring up every counter sale: you find the products, add them to the cart, charge and hand over the receipt. This guide walks you through one complete sale.
Who can sell
Users with the cashier or admin role see POS in the menu. To charge a sale you need your register open: with the register closed you can still build a cart and save quotes, but the charge options are disabled. If you see The register is closed, tap Open register right there and count the drawer’s float (see Cash register).
Before you start: the warehouse
At the top, in Selling from, pick the warehouse the goods come out of. The POS remembers it on that device. Each product shows how many units that warehouse has (hover to see the stock in the others) and the cart won’t let you sell more than there is. A product marked Out of stock can’t be added.
Build the cart
- Search by name, brand, SKU or barcode in the search bar. From anywhere on the POS, press the / key to jump to the search.
- With a barcode scanner, scan the product: once the code is read (or when you press Enter and only one product is left on screen) it goes straight into the cart.
- You can also tap the product in the grid. The tags above it (All Products and the rest) filter the grid; the button with the image icon shows or hides product photos.
- In the cart, use + and − to change a quantity, or the trash icon to remove a line. You’ll see the Subtotal, the ITBIS and the Total Payment.
- Type the customer’s name in Customer Name (it’s required). If you can link saved customers, matching ones are suggested as you type. More in Customers at checkout.
Charge the sale
- Tap Checkout (the button shows the total).
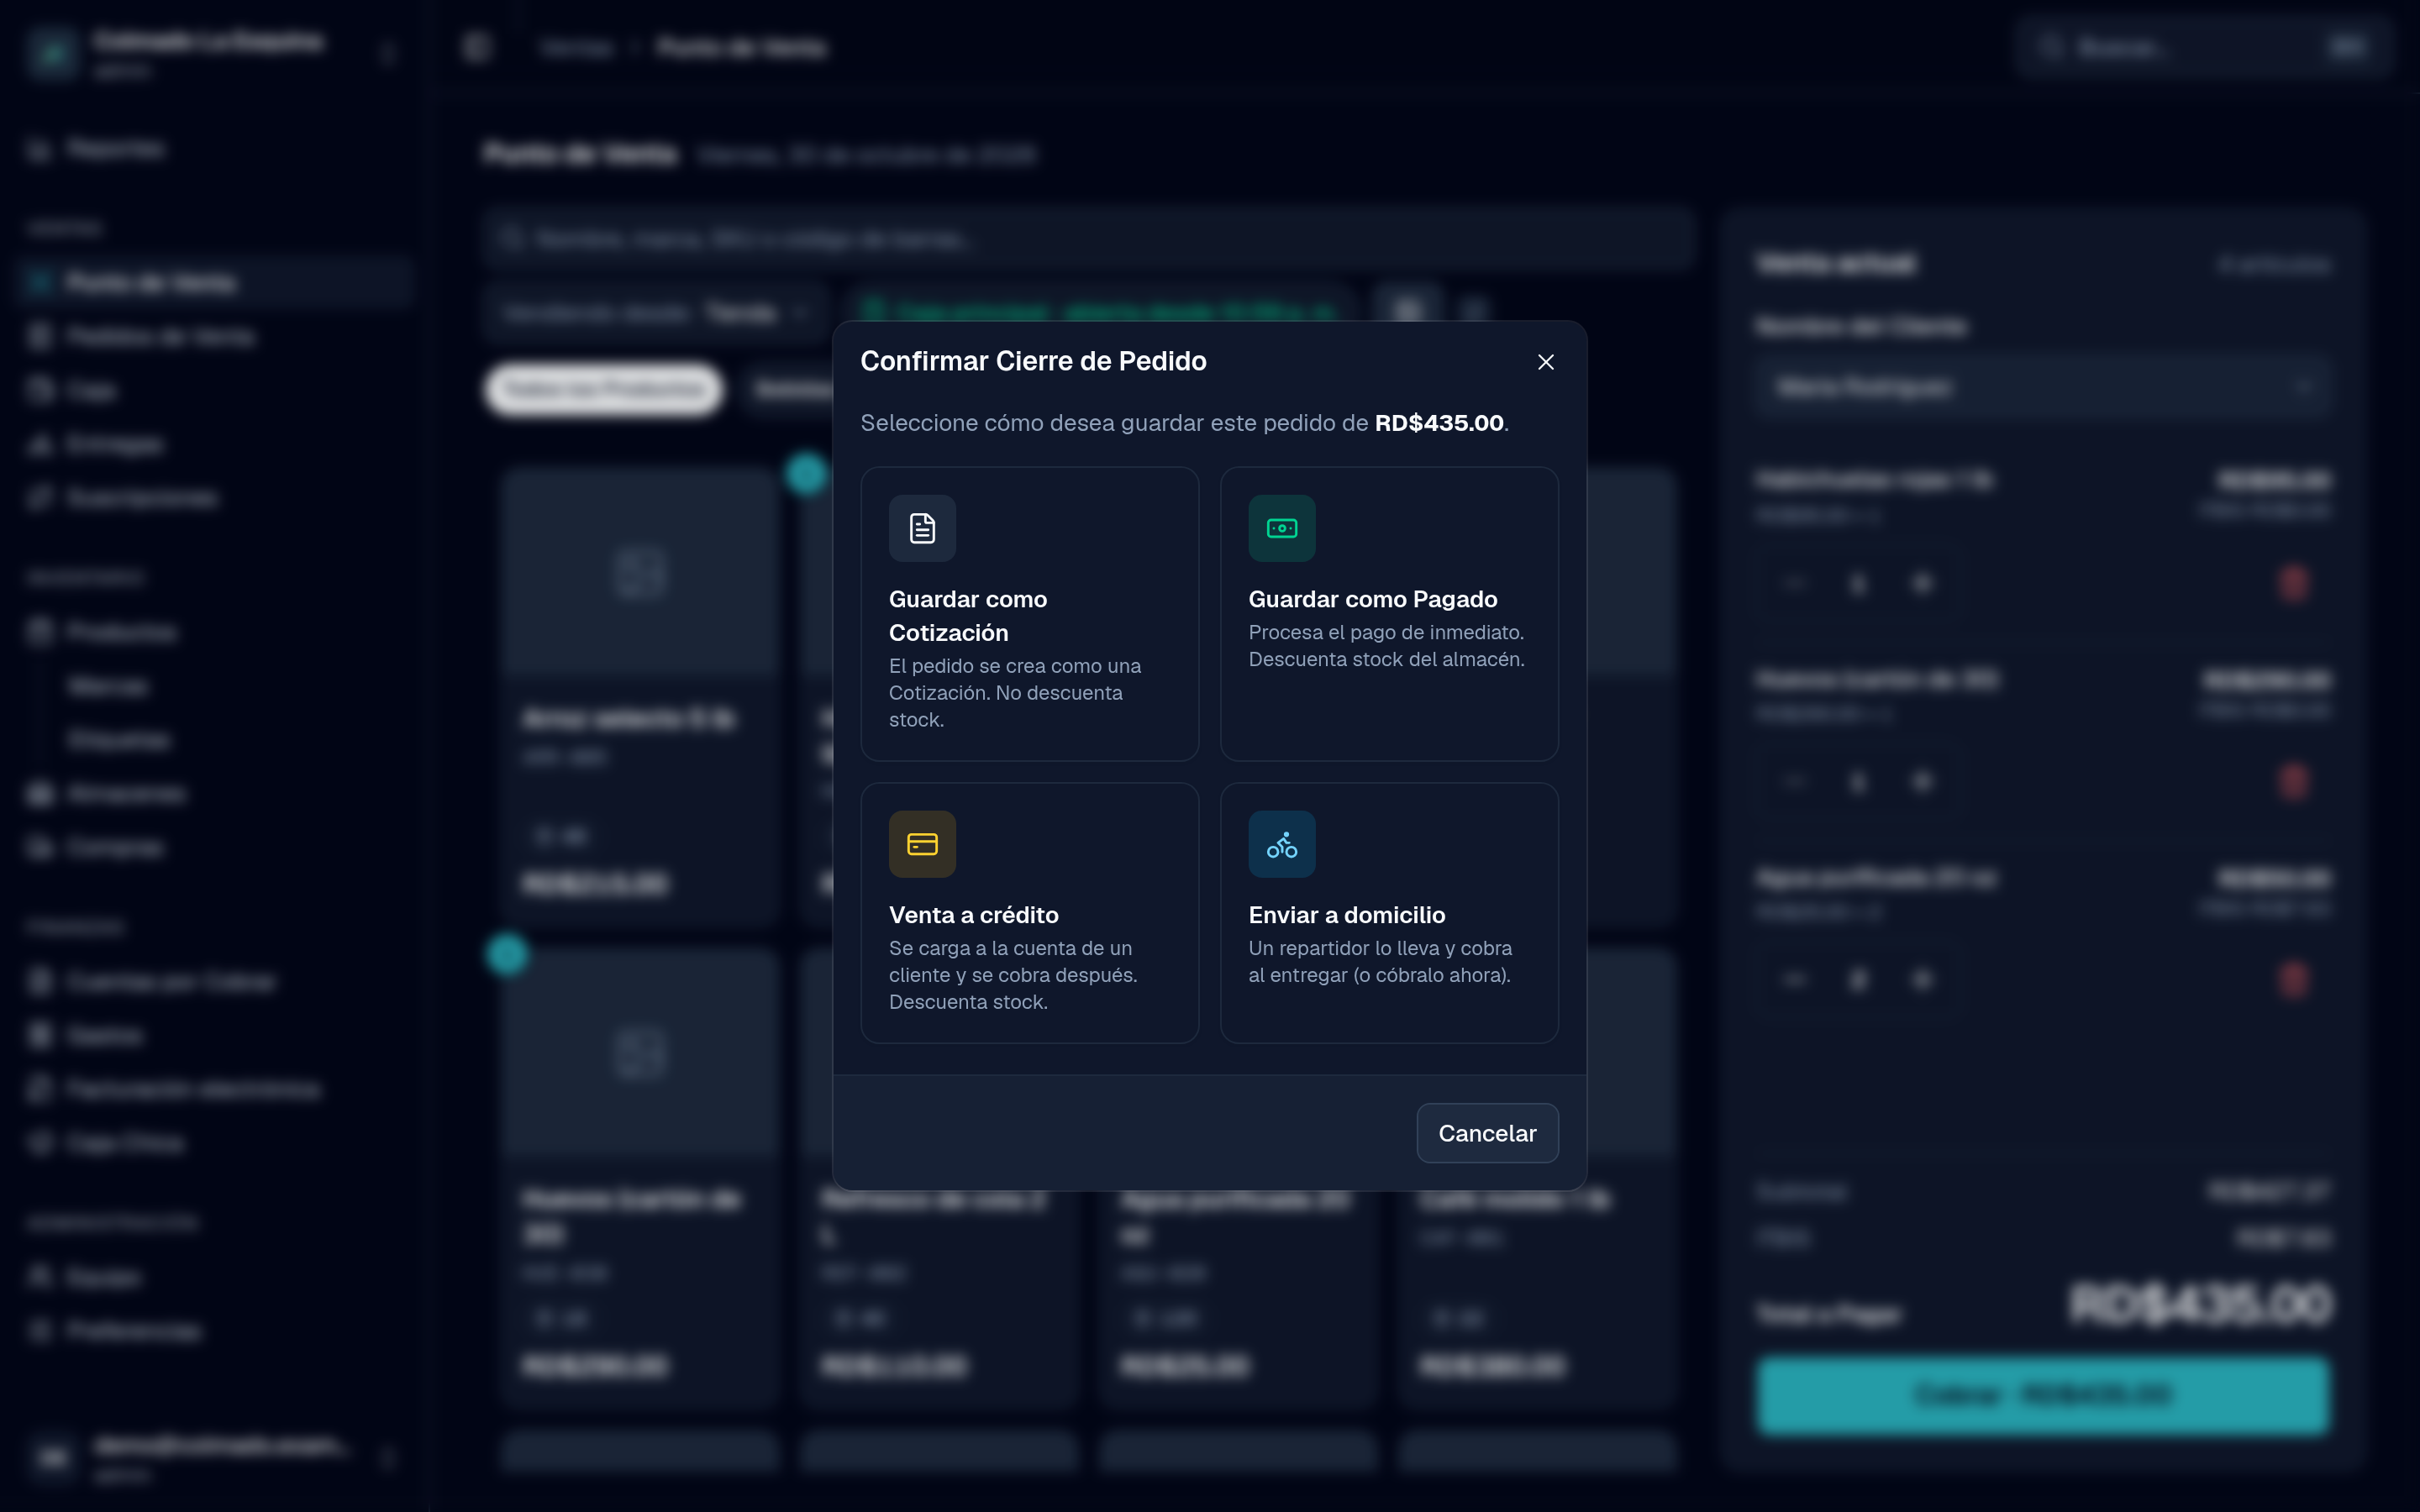
- In Confirm Order Checkout, choose how to save the sale:
- Save as Paid: charge it now; the goods leave the warehouse.
- Save as Quote: saved without charging and without touching stock. See Quotes and orders.
- Credit sale: charged to the account of a customer with credit. See Credit sales.
- Send for delivery: a driver takes it (available from the Pro plan). See Deliveries.
- In Charge order, if your business issues fiscal receipts, pick the type under Fiscal receipt: Consumer, Tax credit and, under More, Government or Special regime when they’re enabled. Tax credit and Government need a customer with an RNC or cédula; if there isn’t one, tap Choose customer.
- Pick the Payment method: Cash, Card or Transfer. Each sale is charged with one payment method.
- For cash, type the Amount received or tap a quick amount (Exact, 500, 1000…). The app shows the Change, or what is Still due if it falls short. For card, run the charge on the card terminal and then confirm; for transfer, confirm once the money has arrived.
- Tap Charge with the amount. Done: the sale is paid and the stock is deducted.
The receipt
After charging, the Order Receipt opens: an 80 mm ticket you can print or save as PDF from the viewer. When the sale carries an e-CF, the receipt is its printed representation: it shows the e-NCF, the security code and the QR code the customer can use to check it with the DGII. Tap Done to go back to the POS. You can reprint any receipt later from Sales Orders with Print Receipt.
Tip: If a charge fails after the order was created (for example, another register sold the last unit), the order stays saved as a quote and the app tells you its number so you can charge it from Sales Orders. It is never duplicated.
Related articles
Didn’t find what you were looking for?
Write to us on WhatsApp or through the contact form and we will help.